ANN LEWIS RCA

Linocut Printmaker

ann@annlewis.co.uk

07772 653487

Step by Step - how a reduction linocut is created

Reduction linocutting is difficult to put into words and is, I feel, best illustrated with step-by-step images.

Below, is a series of images which show the development stages of one of my recent linocuts, from initial sketch to the completed image.

Storm clearing, Rhaeadr Ogwen

12 December 2020

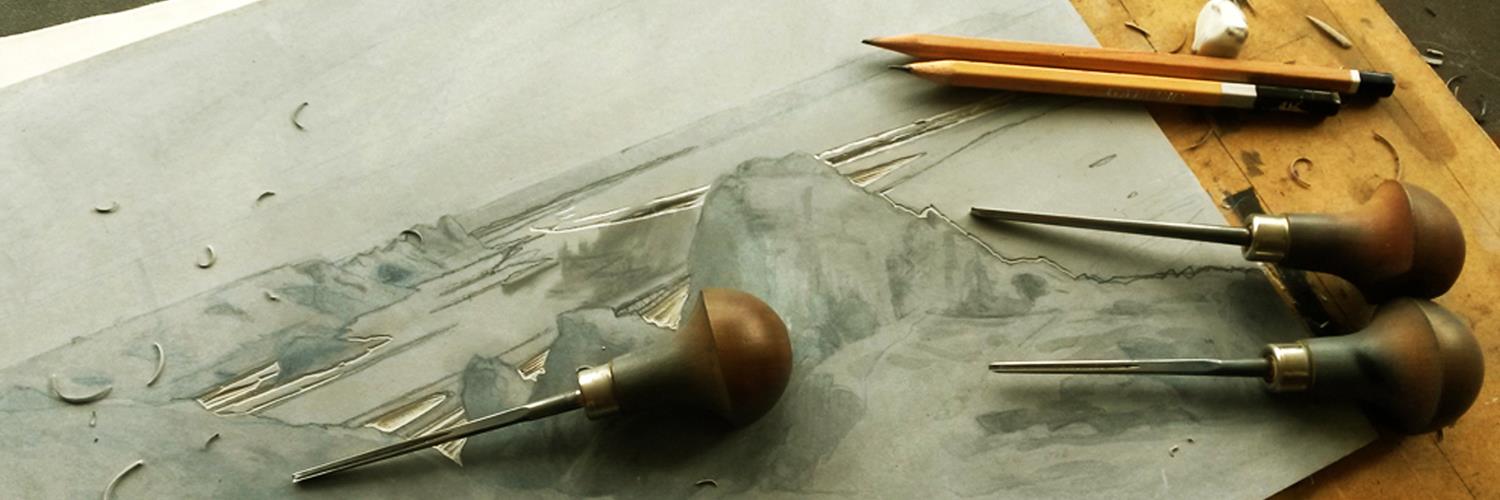
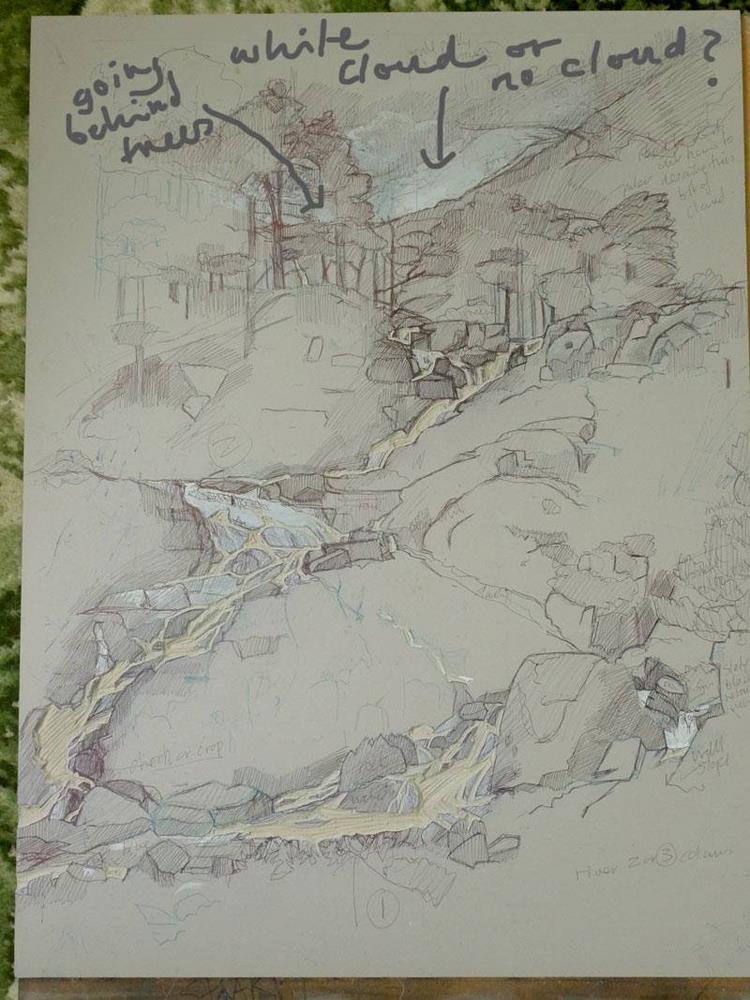
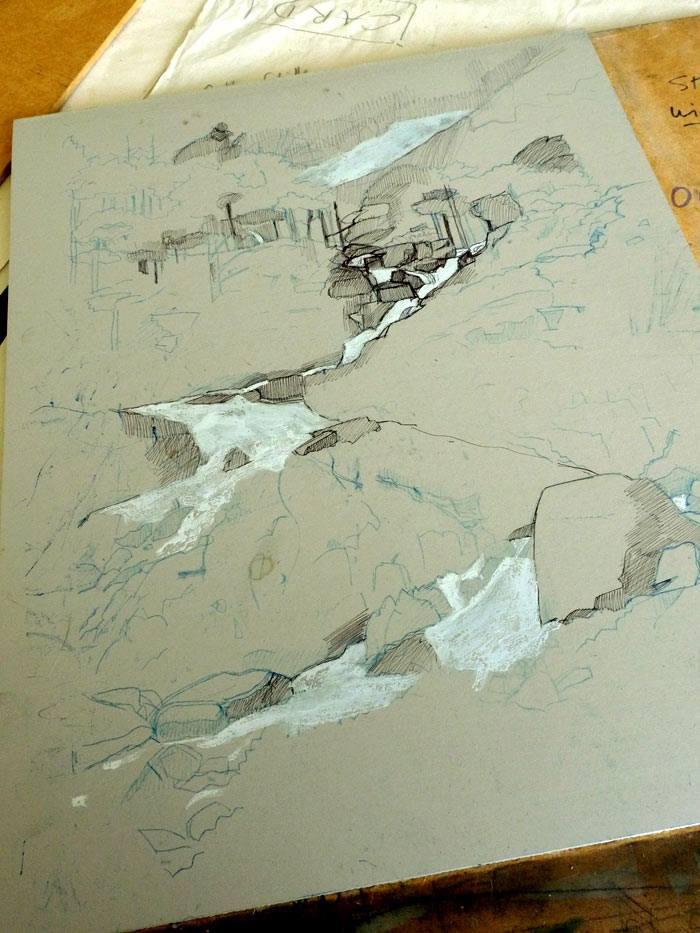
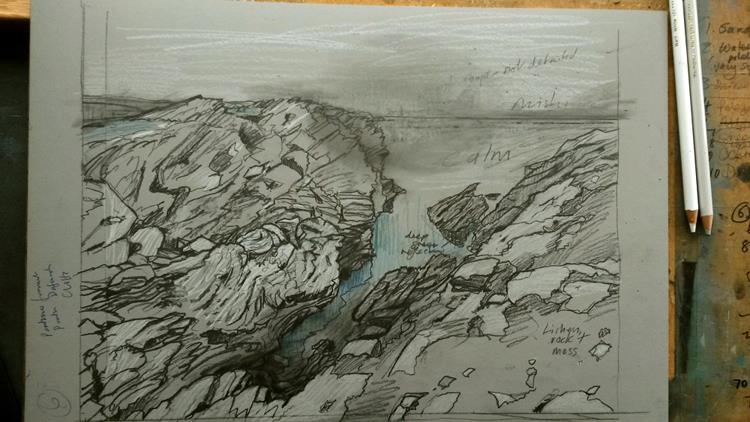
1: Initial sketch on lino. I use white gouache to indicate the areas I want to ‘cut away’
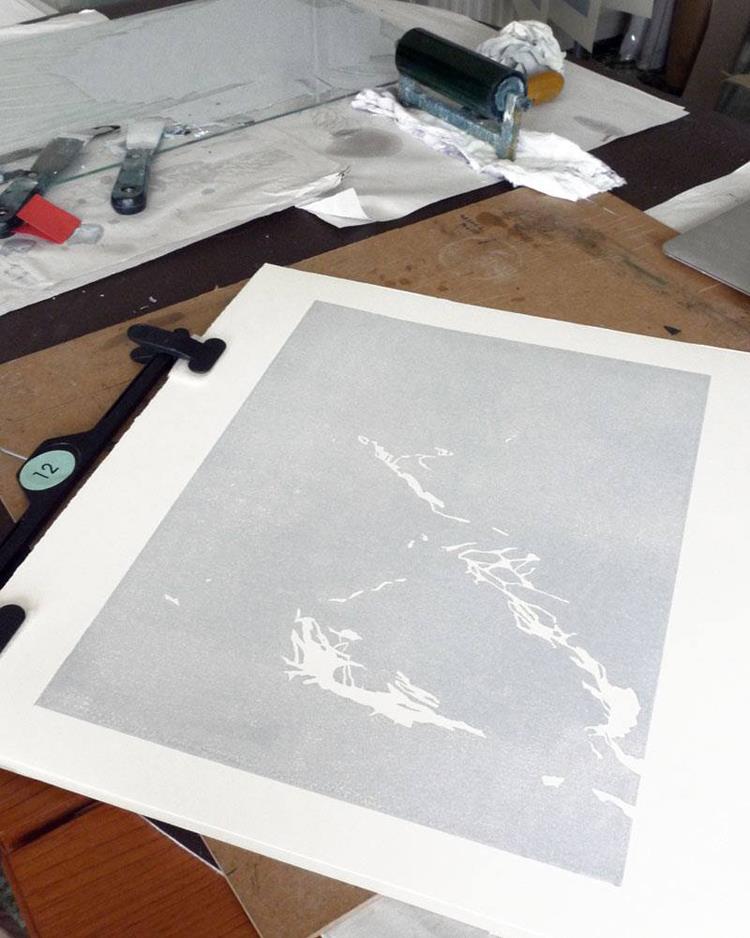
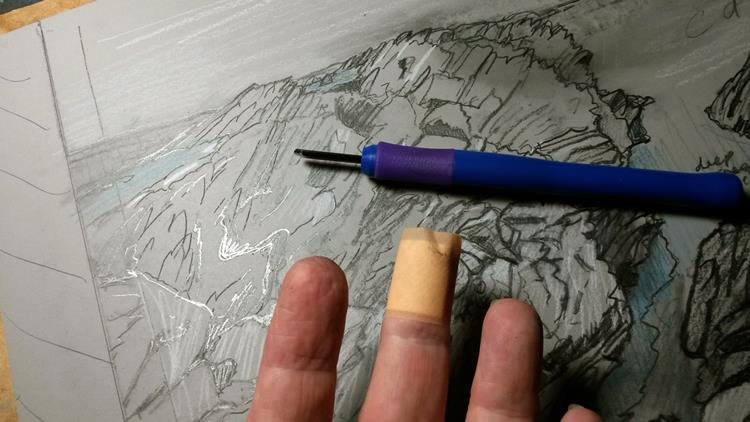
2: First cut, everything that’s cut away will show as the white of the paper.
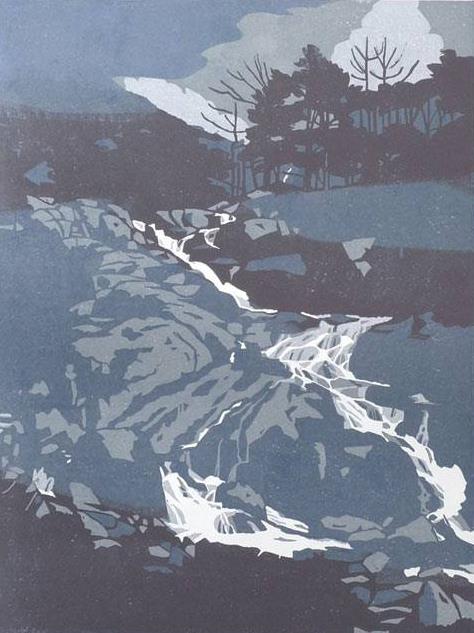
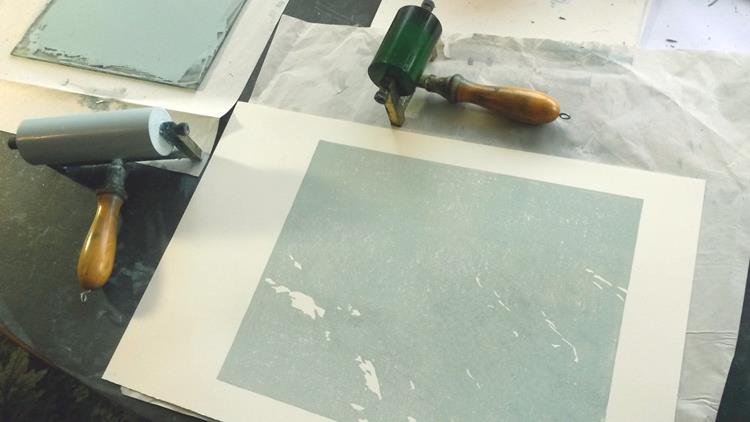
3: First, palest colour printed
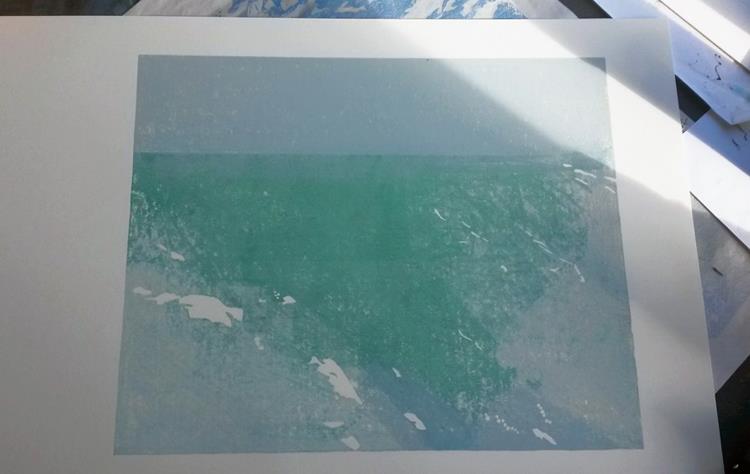
4: Second and third colours printed. At each stage, more lino is cut away, and these become the areas that are NOT overprinted by the next colour.
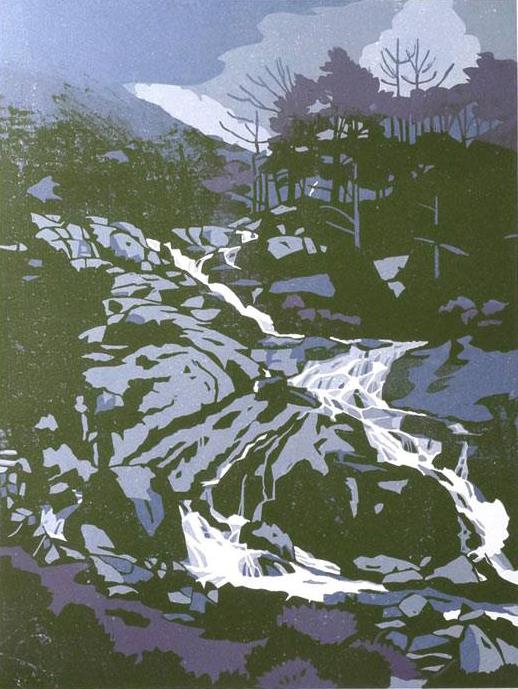
5: Some colours are used on specific parts of the print and here, I only ink up the necessary section of the block.
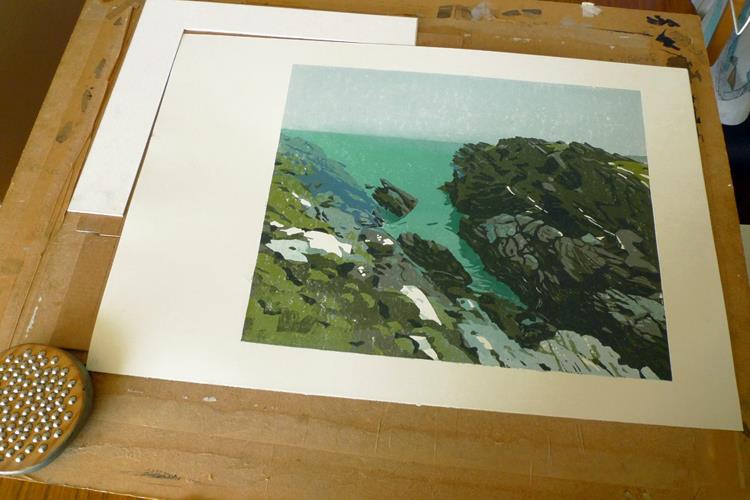
6: Entering the ‘ugly duckling’ stage of the image, when the colours are of very similar tone.
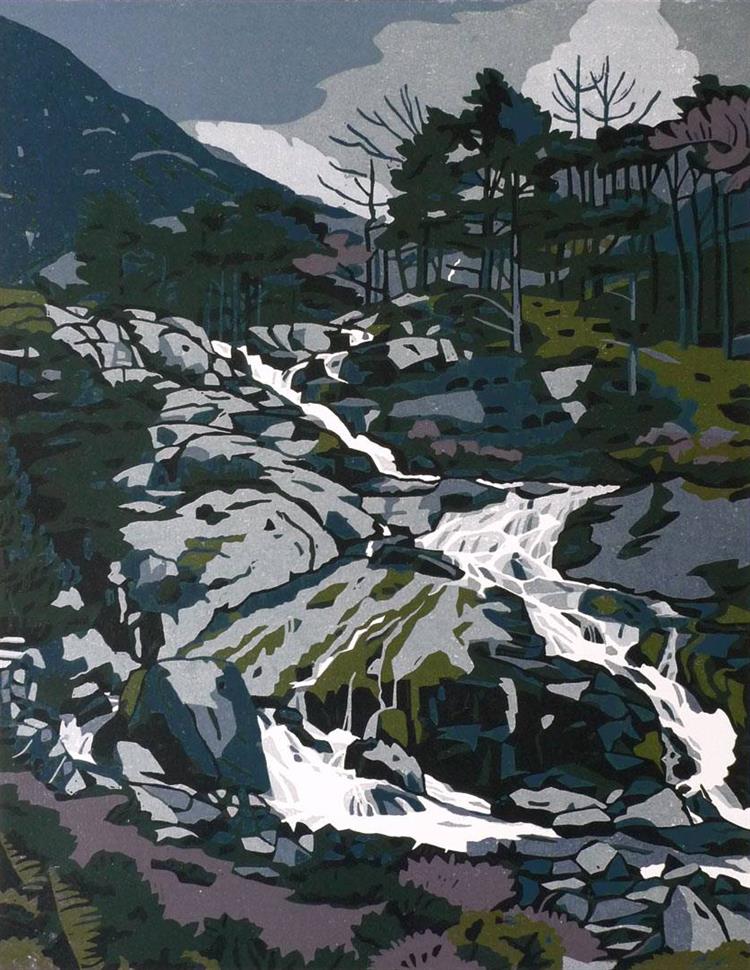
7: Almost there but the trees at the top of the waterfall are still unclear because of the similar colour tones.
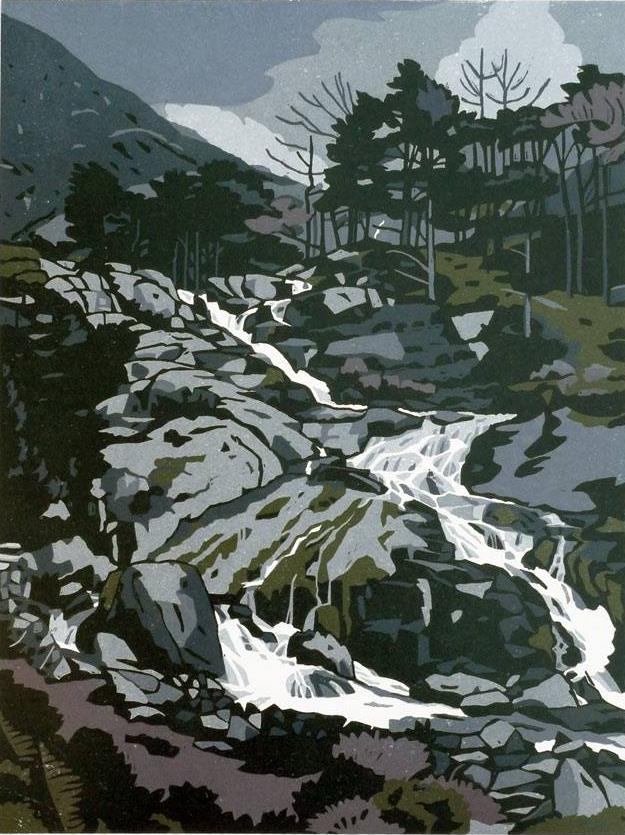
8: The final dark tone makes the trees pop into view, adding depth and distance to the image.

Initial sketch on lino. I use white gouache to indicate the areas I want to ‘cut away First cut, everything that’s cut away will show as the white of the paper. First, palest colour printed Second and third colours printed. At each stage, more lino is cut away, and these become the areas that are NOT overprinted by the next colour.
Some colours are used on specific parts of the print and here, I only ink up the necessary section of the block. Entering the ‘ugly duckling’ stage of the image, when the colours are of very similar tone. Almost there but the trees at the top of the waterfall are still unclear because of the similar colour tones. The final dark tone makes the trees pop into view, adding depth and distance to the image.


Below the example, is a list of other linocuts, with similar step-by-step images.

Please click on the links to view.


1: Finished drawing on the lino. Ready to begin the first cutting stage.

2: A little slip with the cutting tool!

3: First colour printed

4: My inking for this linocut is more ‘textured’ than usual, this is done by varying hand pressure when printing.

5: One more colour to print, to add definition to the mass of rock on the right hand side of the image

6: Completed image

Finished drawing on the lino. Ready to begin the first cutting stage A little slip with the cutting tool First colour printed My inking for this linocut is more ‘textured’ than usual, this is done by varying hand pressure when printing
– One more colour to print, to add definition to the mass of rock on the right hand side of the image Completed image

Pfeil medium V shaped profile tool Ink mixing palette knife Pfeil small U shaped profile tool Small ink roller Pfeil small v shaped profile tool Wooden spoon (for burnishing)